Step 1 - Check components
Step 1
Check if all components are in the box.
Step 2 - Drilling holes into the wall
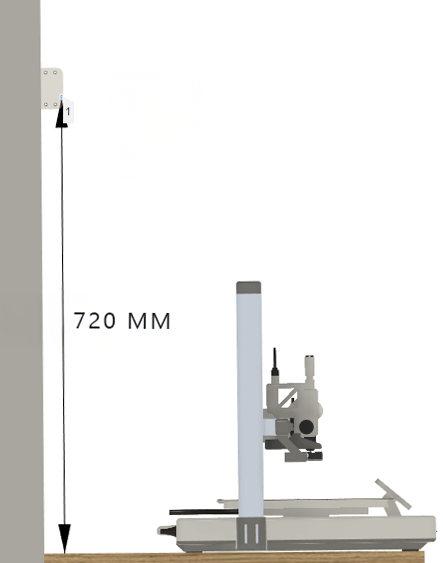
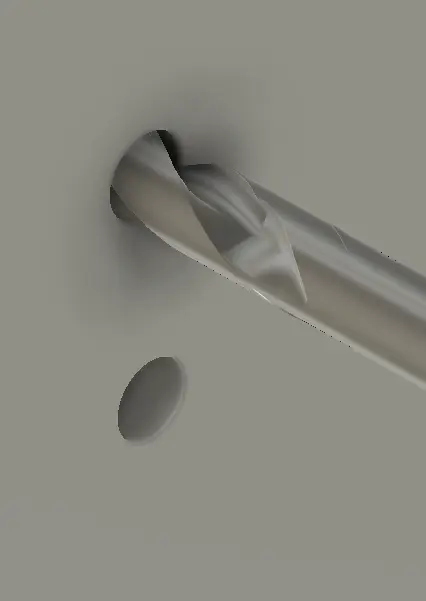
Drill two holes in the wall for the plugs, following these recommendations: Position the centers of the holes at 720 mm and 745 mm from the table surface for the lower and upper holes, respectively. These measurements ensure compatibility with the AMS lite cable length and proper spacing.
If you are using the A1 printer and plan to use the external spool holder, place the hole centers slightly to the left of the printer rather than centering them. For the A1 mini, keep the hole centers aligned centrally with the printer.
Step 3 - Insert the wall plugs
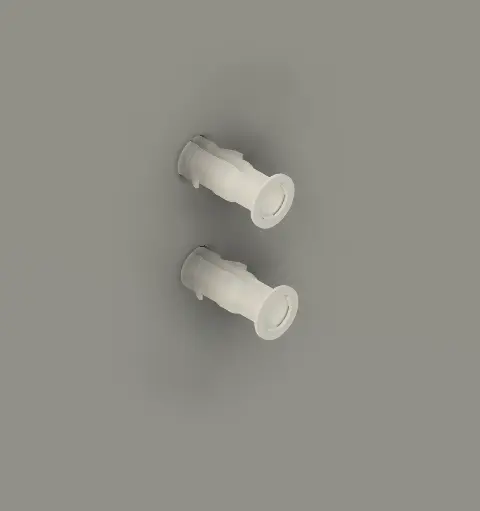
After drilling, insert the wall plugs firmly into the holes to ensure a secure fit.
Step 4 - Secure the wall mount
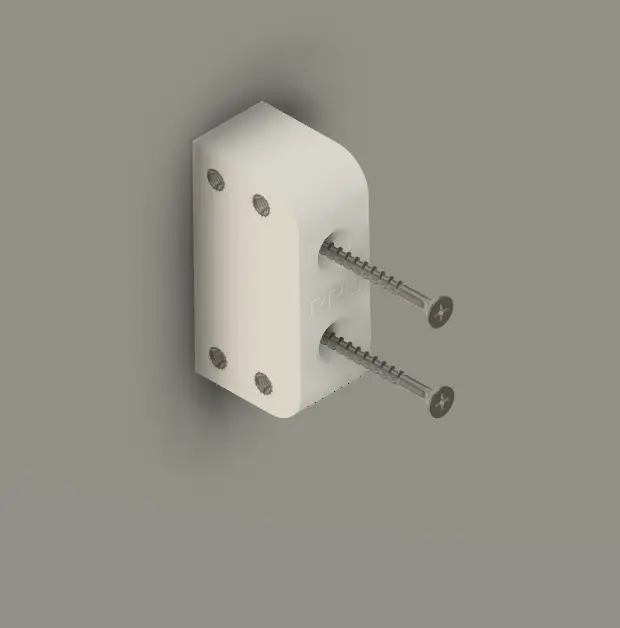
Secure the Wall Mount Block to the wall using the M4.5x70 wall screws.
Step 5 - Attach acrylic sheets to AMS lite
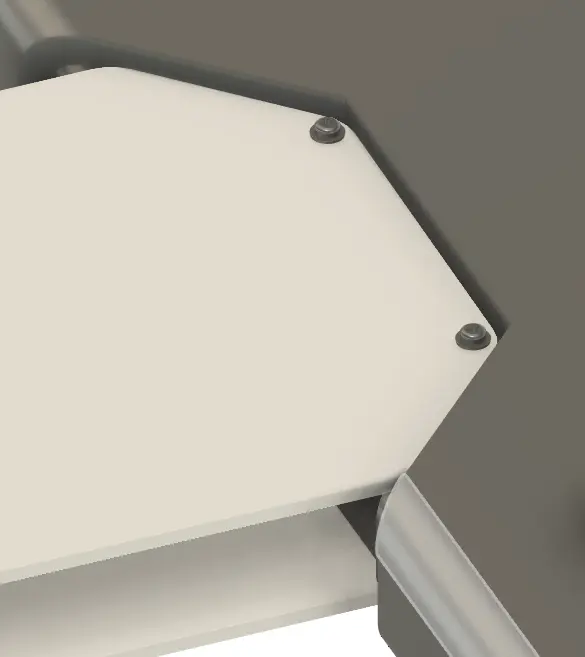
Remove
the protective film from the Wall Mount Acrylic Sheets. Attach the Sheets to
the AMS using the screws that came with your AMS. Use the M3 washers to protect
the sheets. For additional stability, you can use two extra screws per sheet.
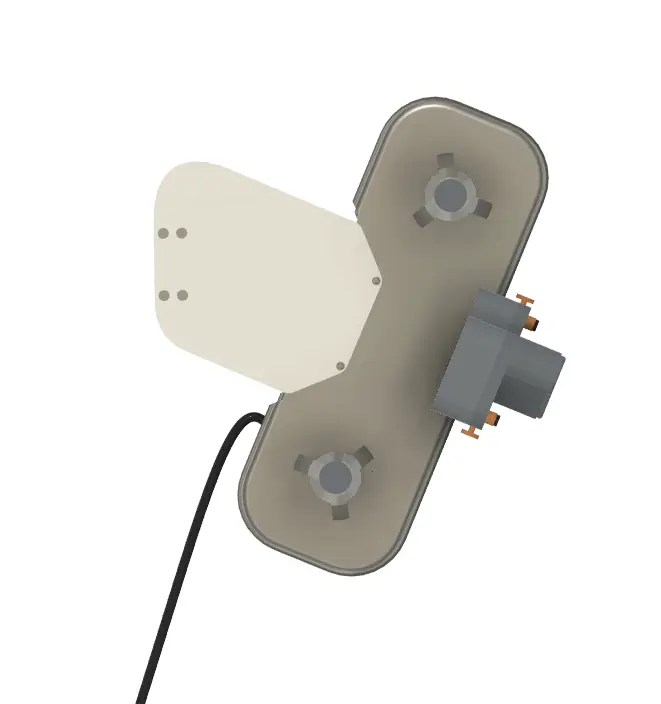
Ensure the sheets are mounted correctly, with the cable oriented downward.
Step 6 - Attach to the wallmount
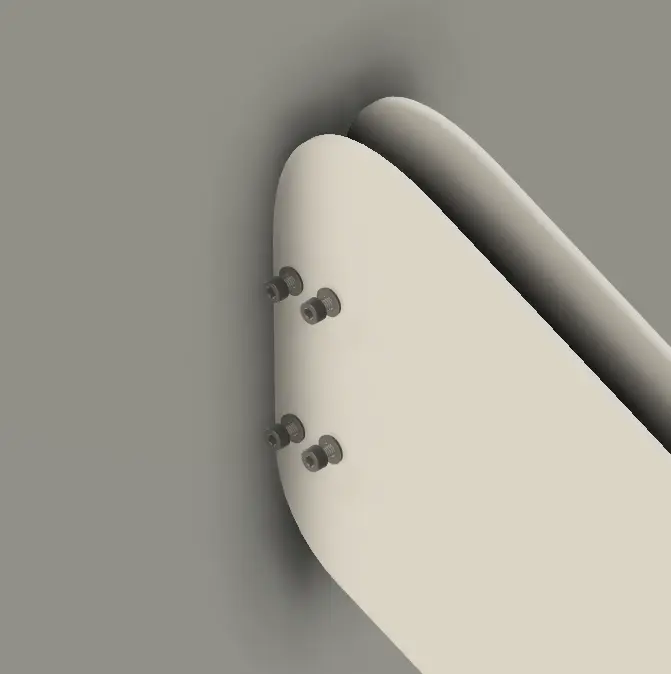
Attach
the Wall Mount Arm Acrylic Sheets to the Wall Mount Block using 4x M4x10 Hex
bolts and M4 washers on both sides.
Step 7 - Attach the number caps to the AMS lite
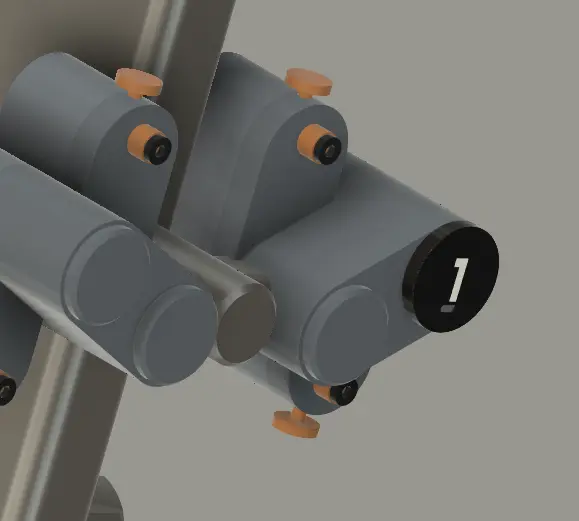
Click the caps in the correct position on the AMS lite: number 4 on the left and number 1 on the right.